Know your lines
Last month we looked at how your glider’s safety and performance depend on making sure that the length of your lines remain within specification. But it’s also of vital concern that they remain strong enough to do their job. How strong do they have to be, and why do they weaken?
The strength requirements are contained in a European standard, EN926, which relates to the construction of paragliders. This standard has two parts: the second part deals with how gliders are given safety ratings ranging from EN A – D, and the first part 1 is concerned with structural strength.
There are several different aspects to structural strength. Gliders have to pass a shock loading test, by being suddenly dragged at 70 – 75kph by a test vehicle. They also have to sustain an 8g load while flying connected to the test vehicle. But as well as these dynamic tests, the standard required that the lines at each level of the cascade are strong enough to carry the maximum certified weight under 14g.
The standard recognises that line strength reduces through use. So the 14g requirement is assessed after lines have been subjected to a “bending test”. Each type of line is put through 5,000 cycles of being bent back and forth through 360° which reduces the breaking limit considerably.
The loss of strength as a result of the bending test can vary significantly depending on the type of material, and whether the line is sheathed or not. By way of example, a typical Dyneema sheathed main line may lose around 20% of its initial effective strength, but for a Kevlar line the loss is around 50%. The test is designed to recognise the effect of use on line strength, and as you would expect, the more use a glider has had, the greater the reduction in strength of the lines. We had an 11 year old glider in recently with Kevlar lines that were just above the minimum strength requirements. Fortunately it’s rare for us to see younger gliders causing similar concern.
One important point to bear in mind is that lines can be seriously weakened if they are sharply bent or kinked. So standing on a line or bending it back on itself can be a problem, as can tying very tight knots particularly in smaller, unsheathed lines.
Sheathing a line can help preserve strength in a number of ways: it provides an effective barrier to UV, and it also gives protection against physical damage. This latter point is one of the key reasons that many glider manufacturers use sheathing on lower main lines except for their higher end wings.
Line manufacturers have developed other means of protection without resorting to relatively bulky polyester sheathing. For example, Edelrid’s A-8000/U aramid line is braided from filaments of Kevlar-like material, each of which is individually coated to give protection from UV, dirt, dust and water. This material is widely used by Ozone and others for upper lines, and also for full linesets of higher performance gliders. Advance recently decided to this type of line for the entire lineset of their new EN B Iota.
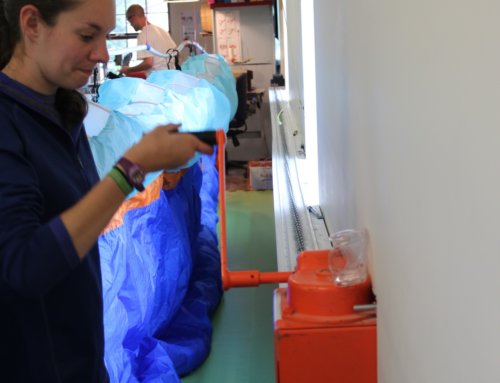
In the course of a glider service, professional workshops will carefully inspect the lineset and replace any lines showing evidence of physical damage. They will also remove an upper and lower line to check their breaking strength. Keeping an eye on the strength over successive service reports provides reassurance that the lines will retain sufficient strength until well beyond the next service date.
How to fit a replacement line yourself
If you find one of your lines is damaged, you can get a replacement through the post and fit it yourself.
- Before you start, check the length of the new line against the corresponding one on the other side, in case you’ve not ordered the exact line you need.
- Give yourself plenty of space and make sure you have time to avoid being rushed.
- Remove the O ring or maillon insert and open the maillon.
- Remove the lowest line that’s connected to the line you want to replace. If it’s not the first one off the maillon, move the other lines across to the other side of the maillon rather than removing them.
- Work your way up the cascade, unlooping from the bottom.
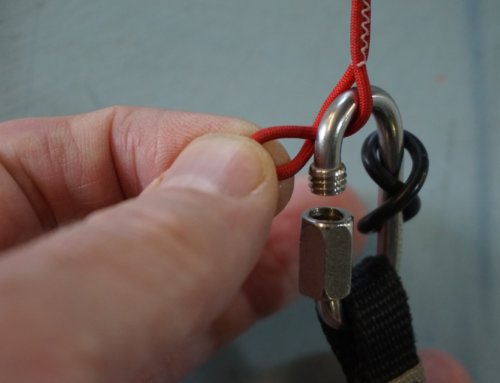
- Replace the damaged line: put the upper line/line tab through the upper loop of the new line, and then feed the other end of the new line through the loop(s) of the upper line/line tab.
- Repeat the process back down the cascade to the maillon.
- Refit the main line, O ring or maillon insert and firmly close the maillon.
And most importantly, before you next fly, check carefully that you have not tangled any of the lines.


