In the first of a series of short articles on aspects of glider safety and performance, John Warden of Aerofix looks at the importance of making sure that the length of your lines continue to match the manufacturer’s specification.
We spend a lot of time and money getting the wing that will give us the performance and security we want. But both of these aspects can suffer if our lines stretch or shrink and our glider goes out of trim. So should we be concerned and what should we do?
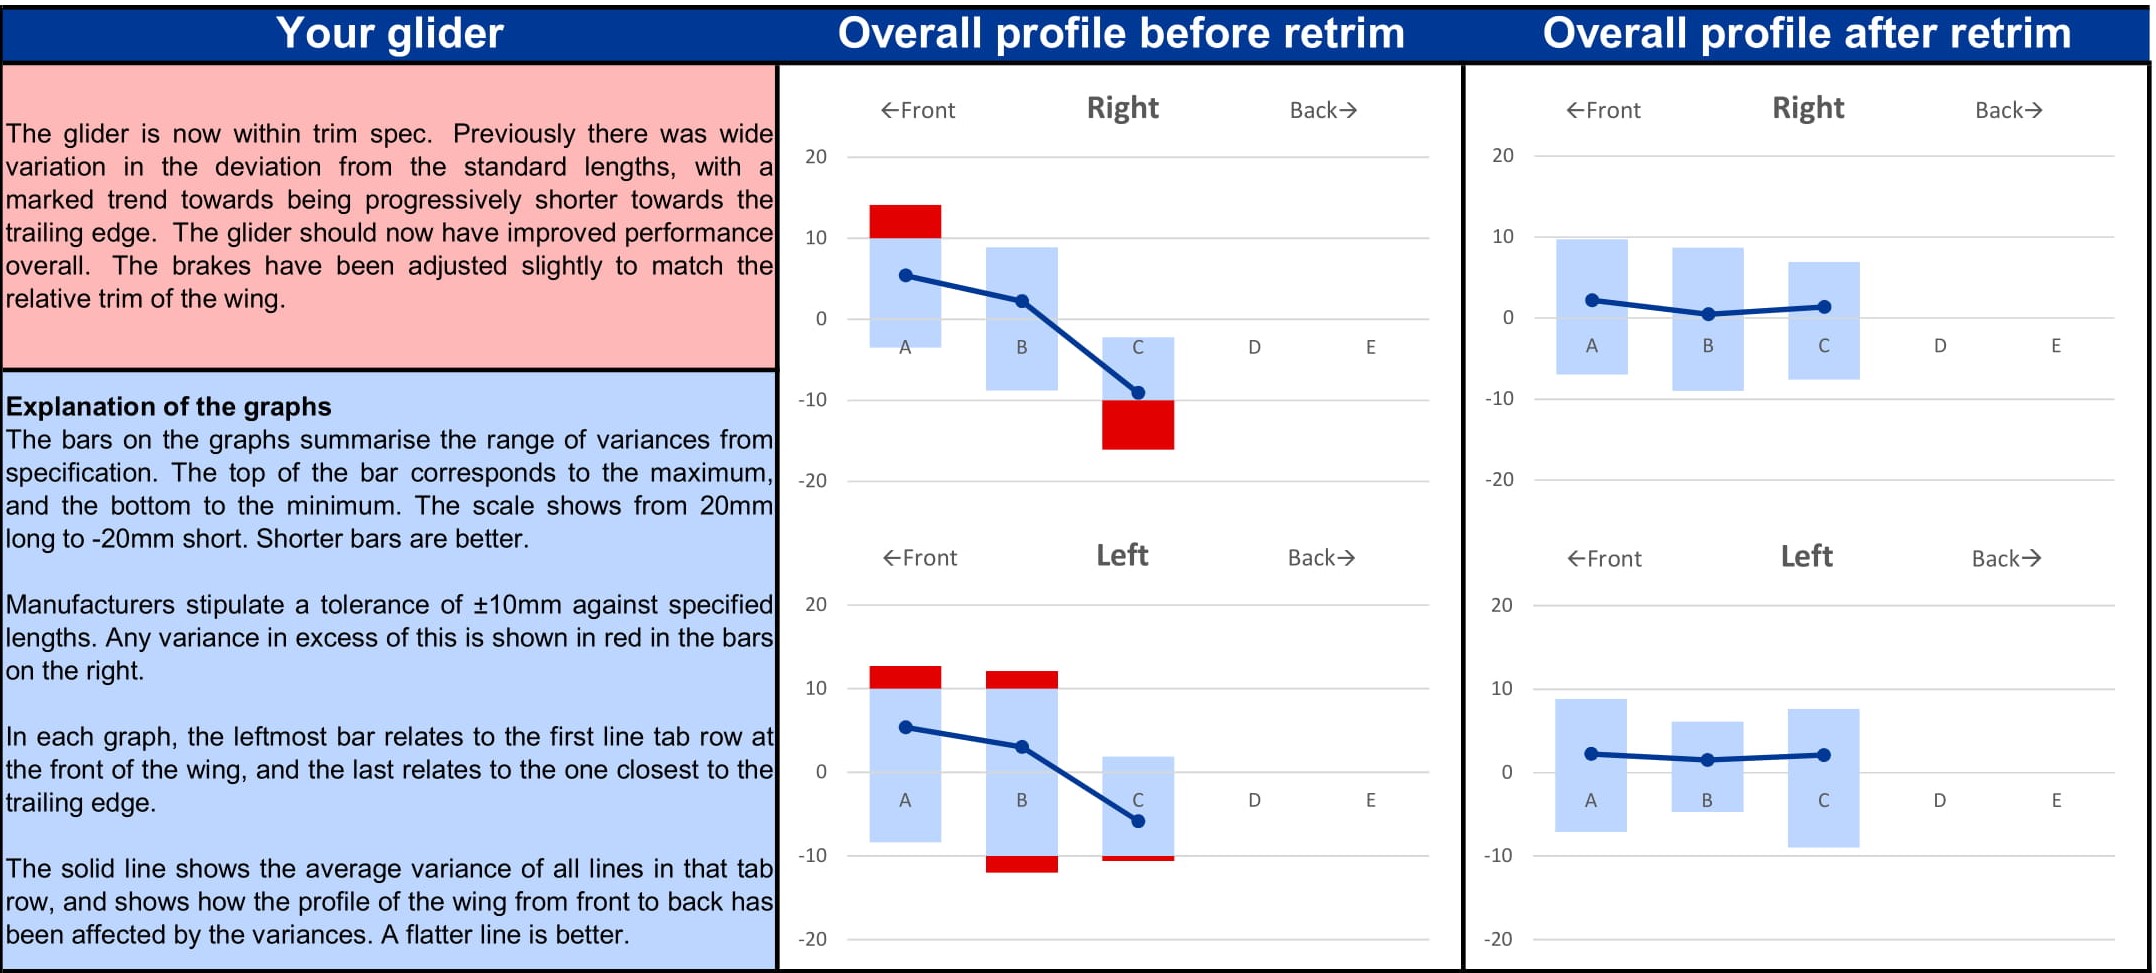
Line lengths are critical to defining the shape of your wing, both the arc across the glider and the attitude of its profile from front to back. As part of the certification process, glider manufacturers specify the lengths of every line to the nearest millimetre. In the real world we need to account for manufacturing tolerances and fluctuations in the line material, so provided the actual lengths are within ±10mm of specification, then your glider is considered to be in trim.
The problem that often arises is that lines move over time. Kevlar is generally more stable in length than Dyneema, but lines of either material can and do change in length. There are also other important differences between the two materials (such as Dyneema being stronger and retaining its strength better) that we’ll examine line strength in a subsequent article.
We had an eight year old glider with Kevlar lines in the workshop this week with lines that were shorter than specification by an average of around 50mm. You can see from the service report extract below that the most shrunken C line was 30mm shorter compared to specification than the least shrunken A line. Given that full speedbar often shortens the A riser by about 150mm, you can see that these changes can be quite significant.
It’s not just older gliders that can go out of trim. NOVA recommend a check of line lengths after 20 hours. 777 provide guidance to owners of their highly regarded King about changing the line loops after 25 hours. It’s certainly the case that Dyneema lines often “settle in” during that period, irrespective of brand.
Many factors, including damp and heat, play a part. And if you’re unfortunate enough to get your lines wet, then it’s definitely worth getting them checked.
It used to be thought that if your lines had shrunk, then you should stretch them back. Well you can, but manufacturers have realised that doing this is only a short term fix. You might be able to get the glider back within specification for the workshop report, but the effect won’t last long, and the lines will return to their previous length over time. The recommendation now is that all measurements should be done with a 5kg load, and pre-stretching is to be avoided.
Depending on how lines go out of trim, the effect on glider performance can vary. Reduced trim speed (combined with impaired top speed) is quite common, as is also an increased tendency for the tips to collapse. Sometimes the tips become slower, degrading glide at all speeds, but particularly when going faster. And handling can suffer as well.
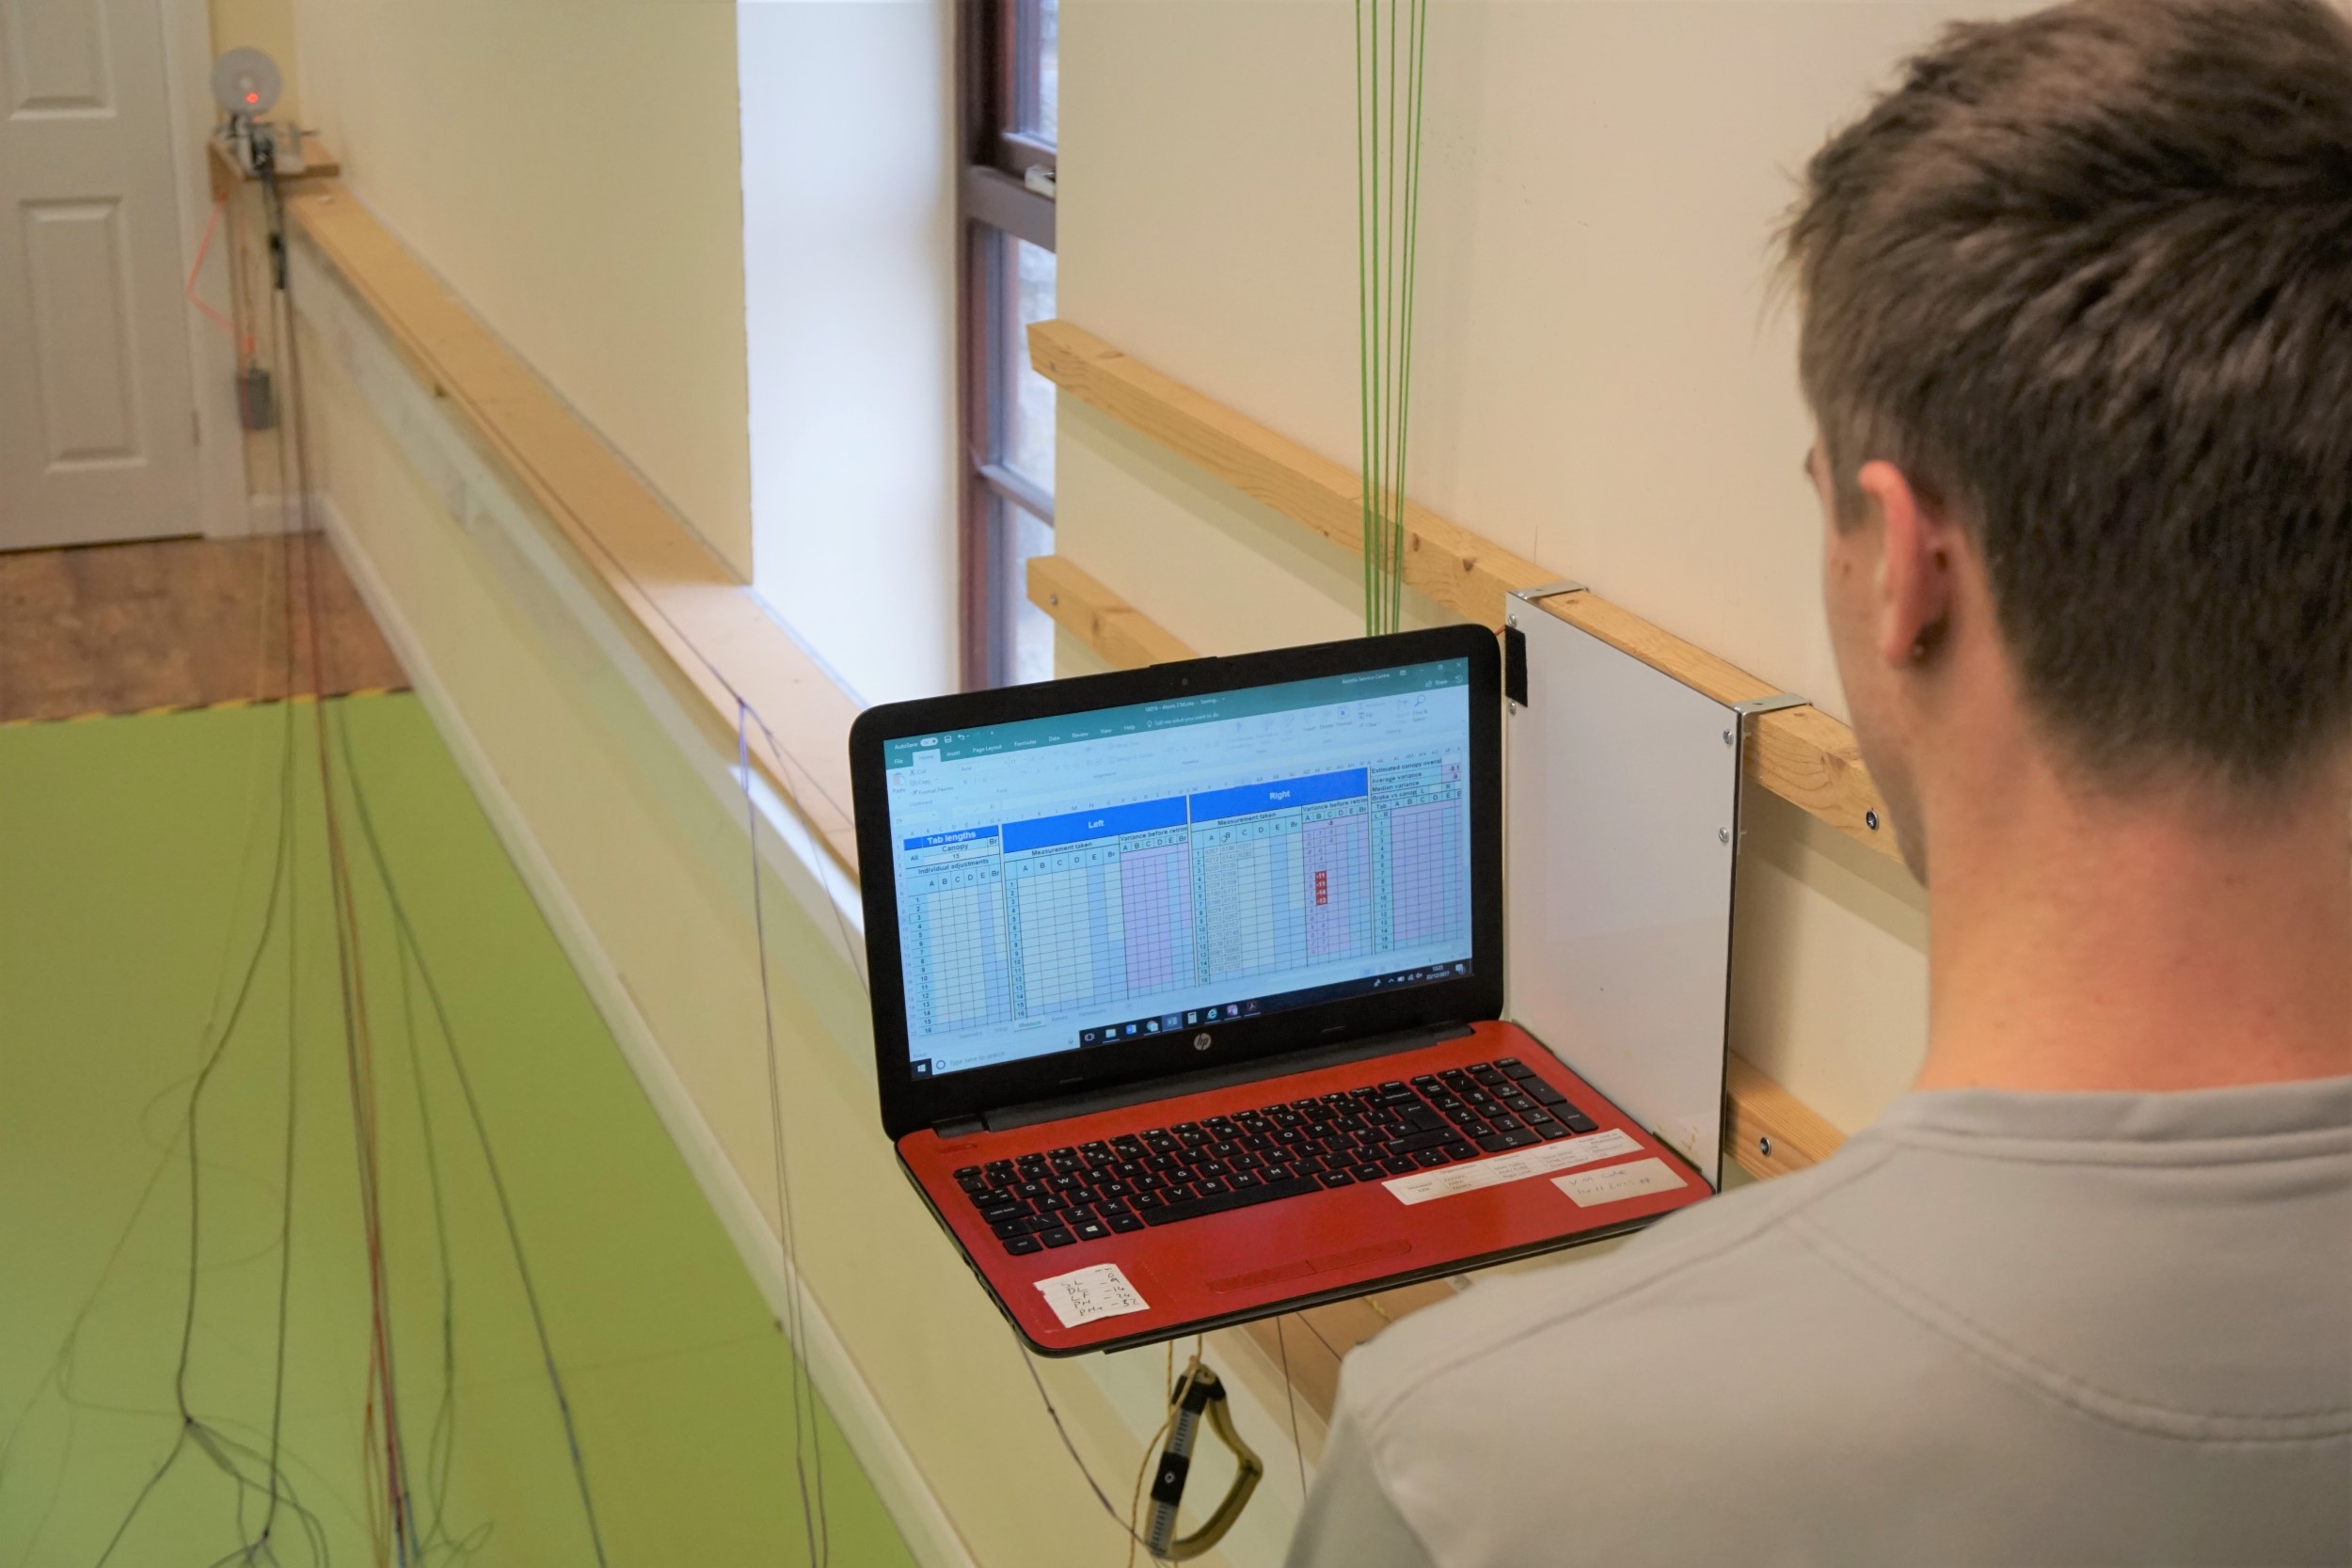
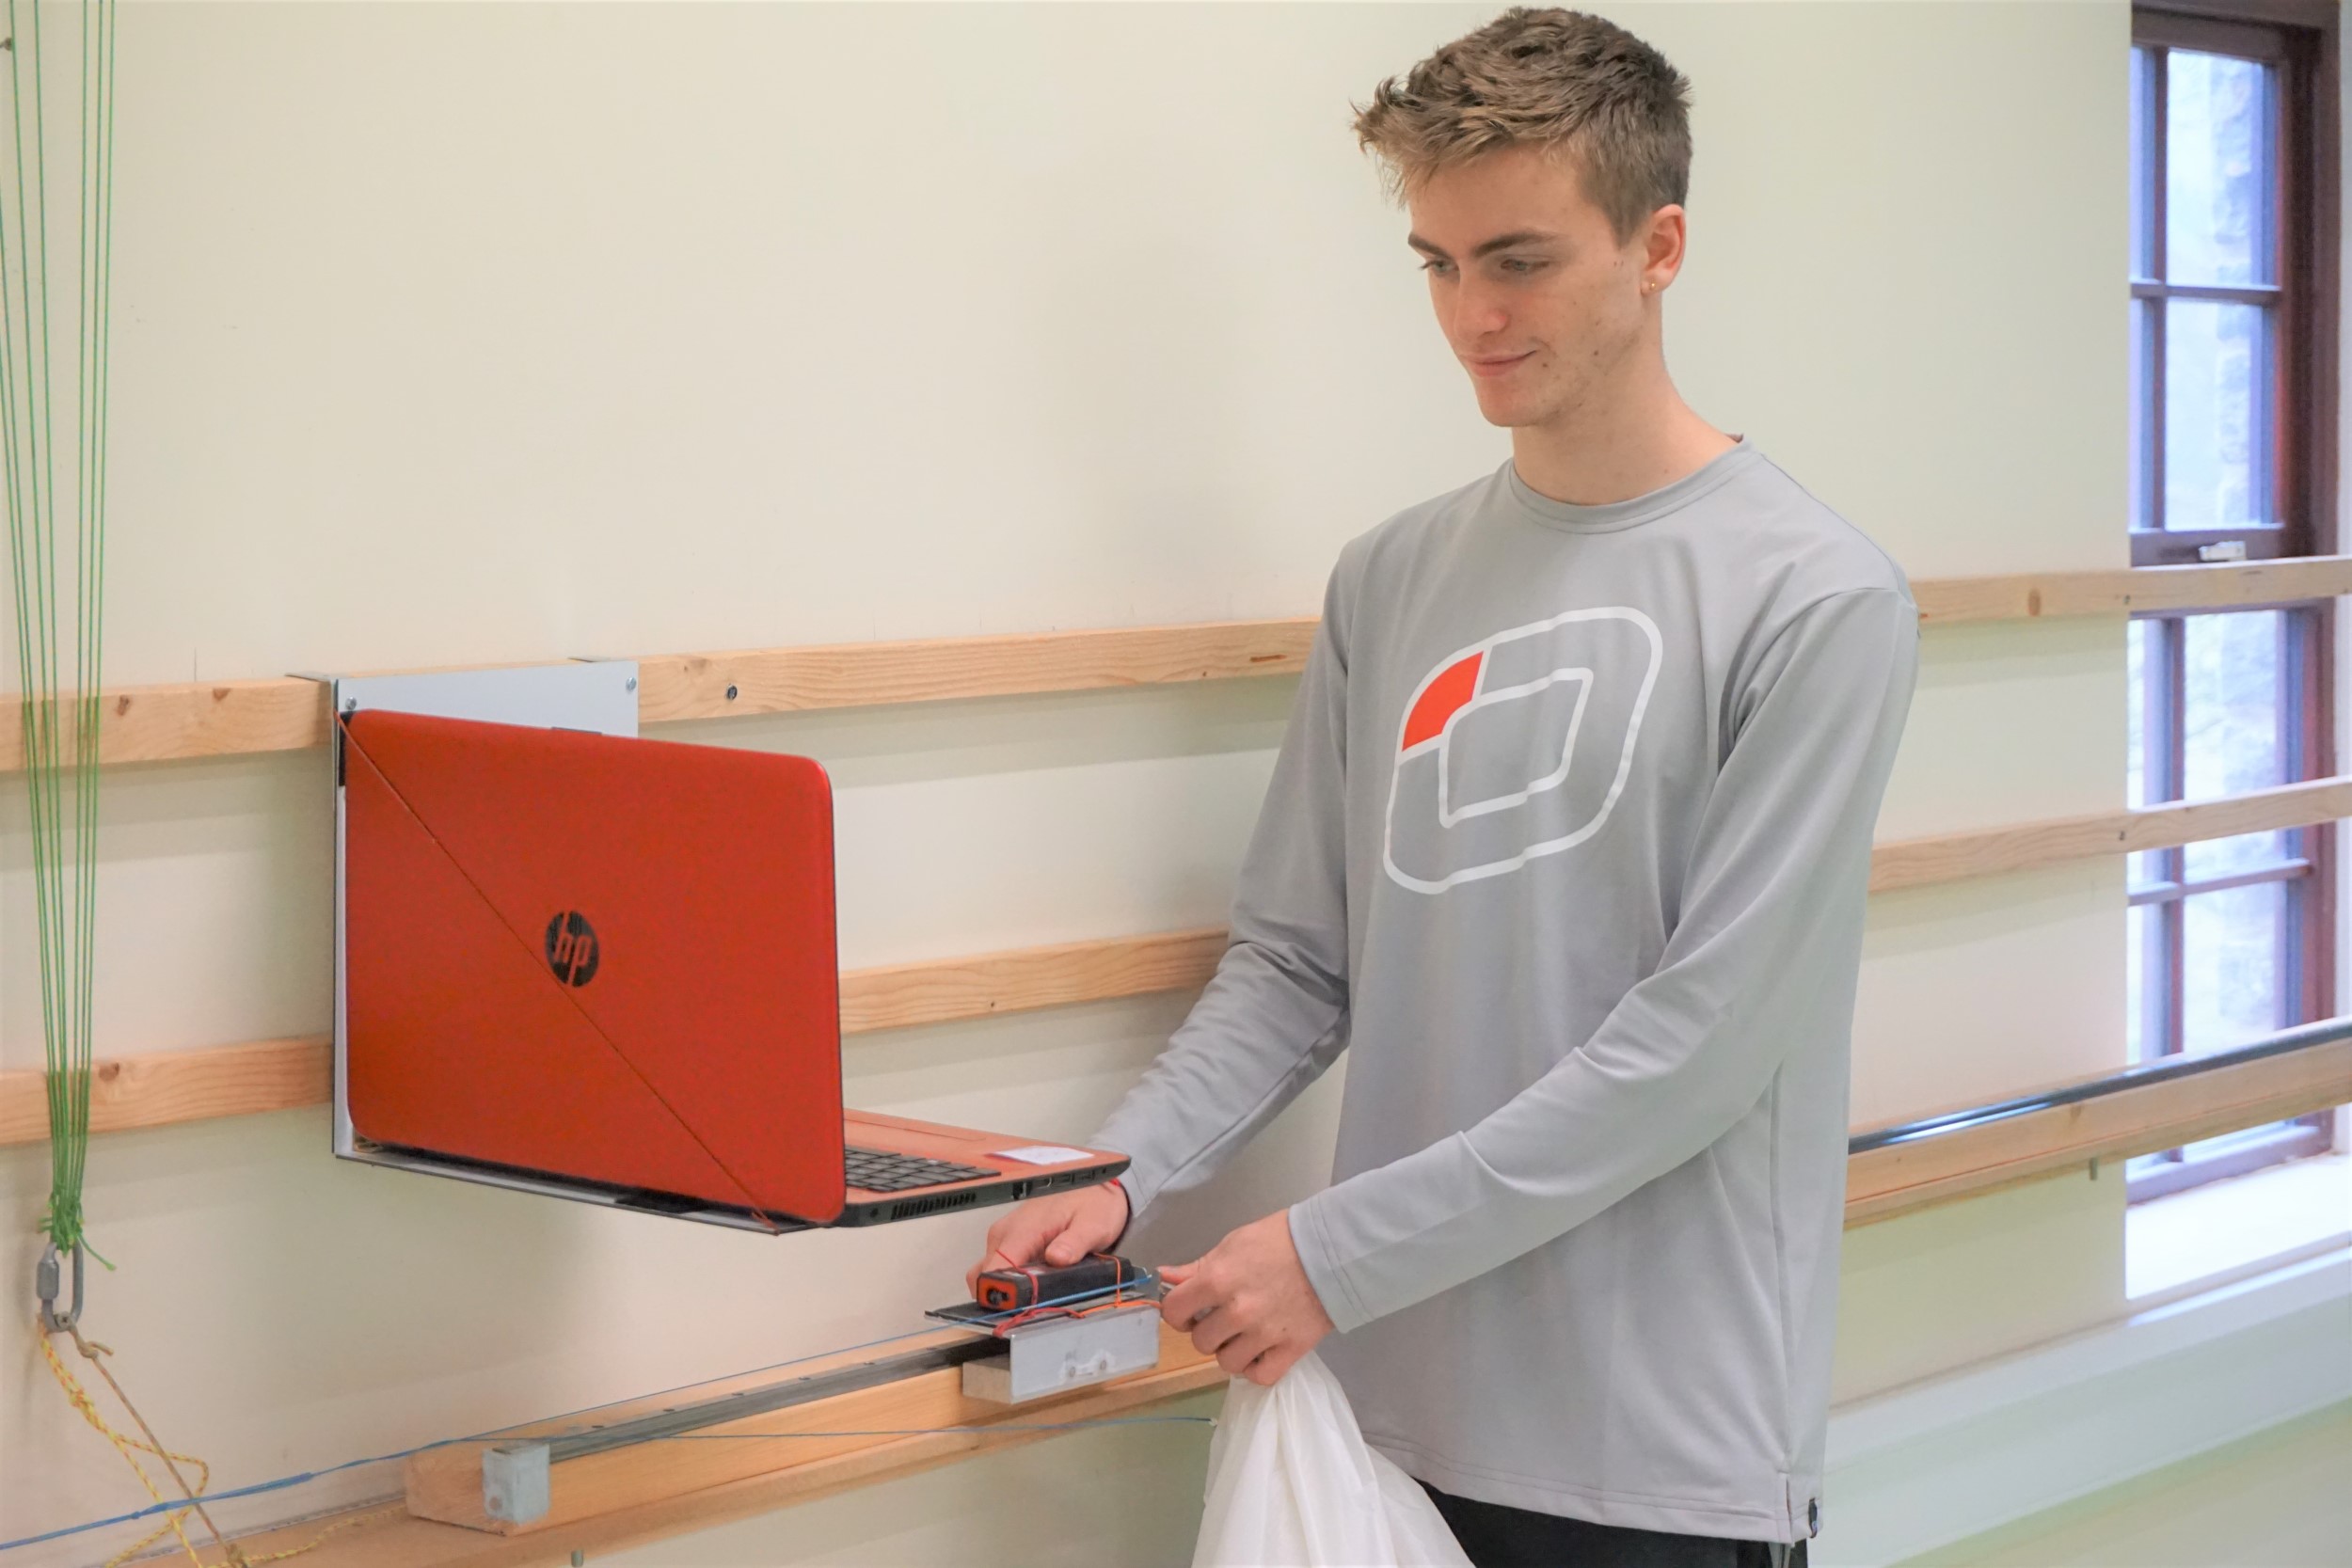
Most workshops use laser measuring these days to accurately record the length of all lines on computer for analysis and determination of what corrections to make. The majority of problems can be sorted out by using a variety of different loops to connect the main lines to the maillons. More awkward problems may require taking loops further up the cascades. Exceptionally, individual lines may need replacing, and since this is more expensive, it’s fortunate that it’s also quite rare.
There are other reasons why it can be worth checking line lengths. Maybe a replacement line was made to manufacturer’s specification, but the lineset of your glider no longer matches that specification. Or perhaps a replacement line wasn’t fitted correctly before you bought the glider.
Checking glider line lengths yourself is possible. The specified lengths are available online, and you can use a spreadsheet to compare these with your own measurements. And rigging up a pulley with a 5kg weight (a 5litre water bottle?) is also feasible. But it can get quite involved. However, one thing you can do quite easily is to check your left and right lines against each other (a symmetry check – see the inset). Workshops used to do this to see if there were any major anomalies between the two sides before technology made it quicker just to measure all lines.
So if your wing has lost its sparkle – maybe it’s feeling a bit mushy, not as eager to turn or launch, or the glide isn’t what it used to be – and it’s a year or two since you had it looked at, it may be worth getting in touch with a service centre to have it checked over.
How to symmetry check of your lines yourself
-
This is a simple way to check for problems that might be affecting just one side.
-
It’s also a good idea to do this if you fit a replacement line yourself.
-
You need:
-
An attachment point on the floor, such as a table leg.
-
A chord to ties the riser loops to the attachment point.
-
And plenty of space!
-
-
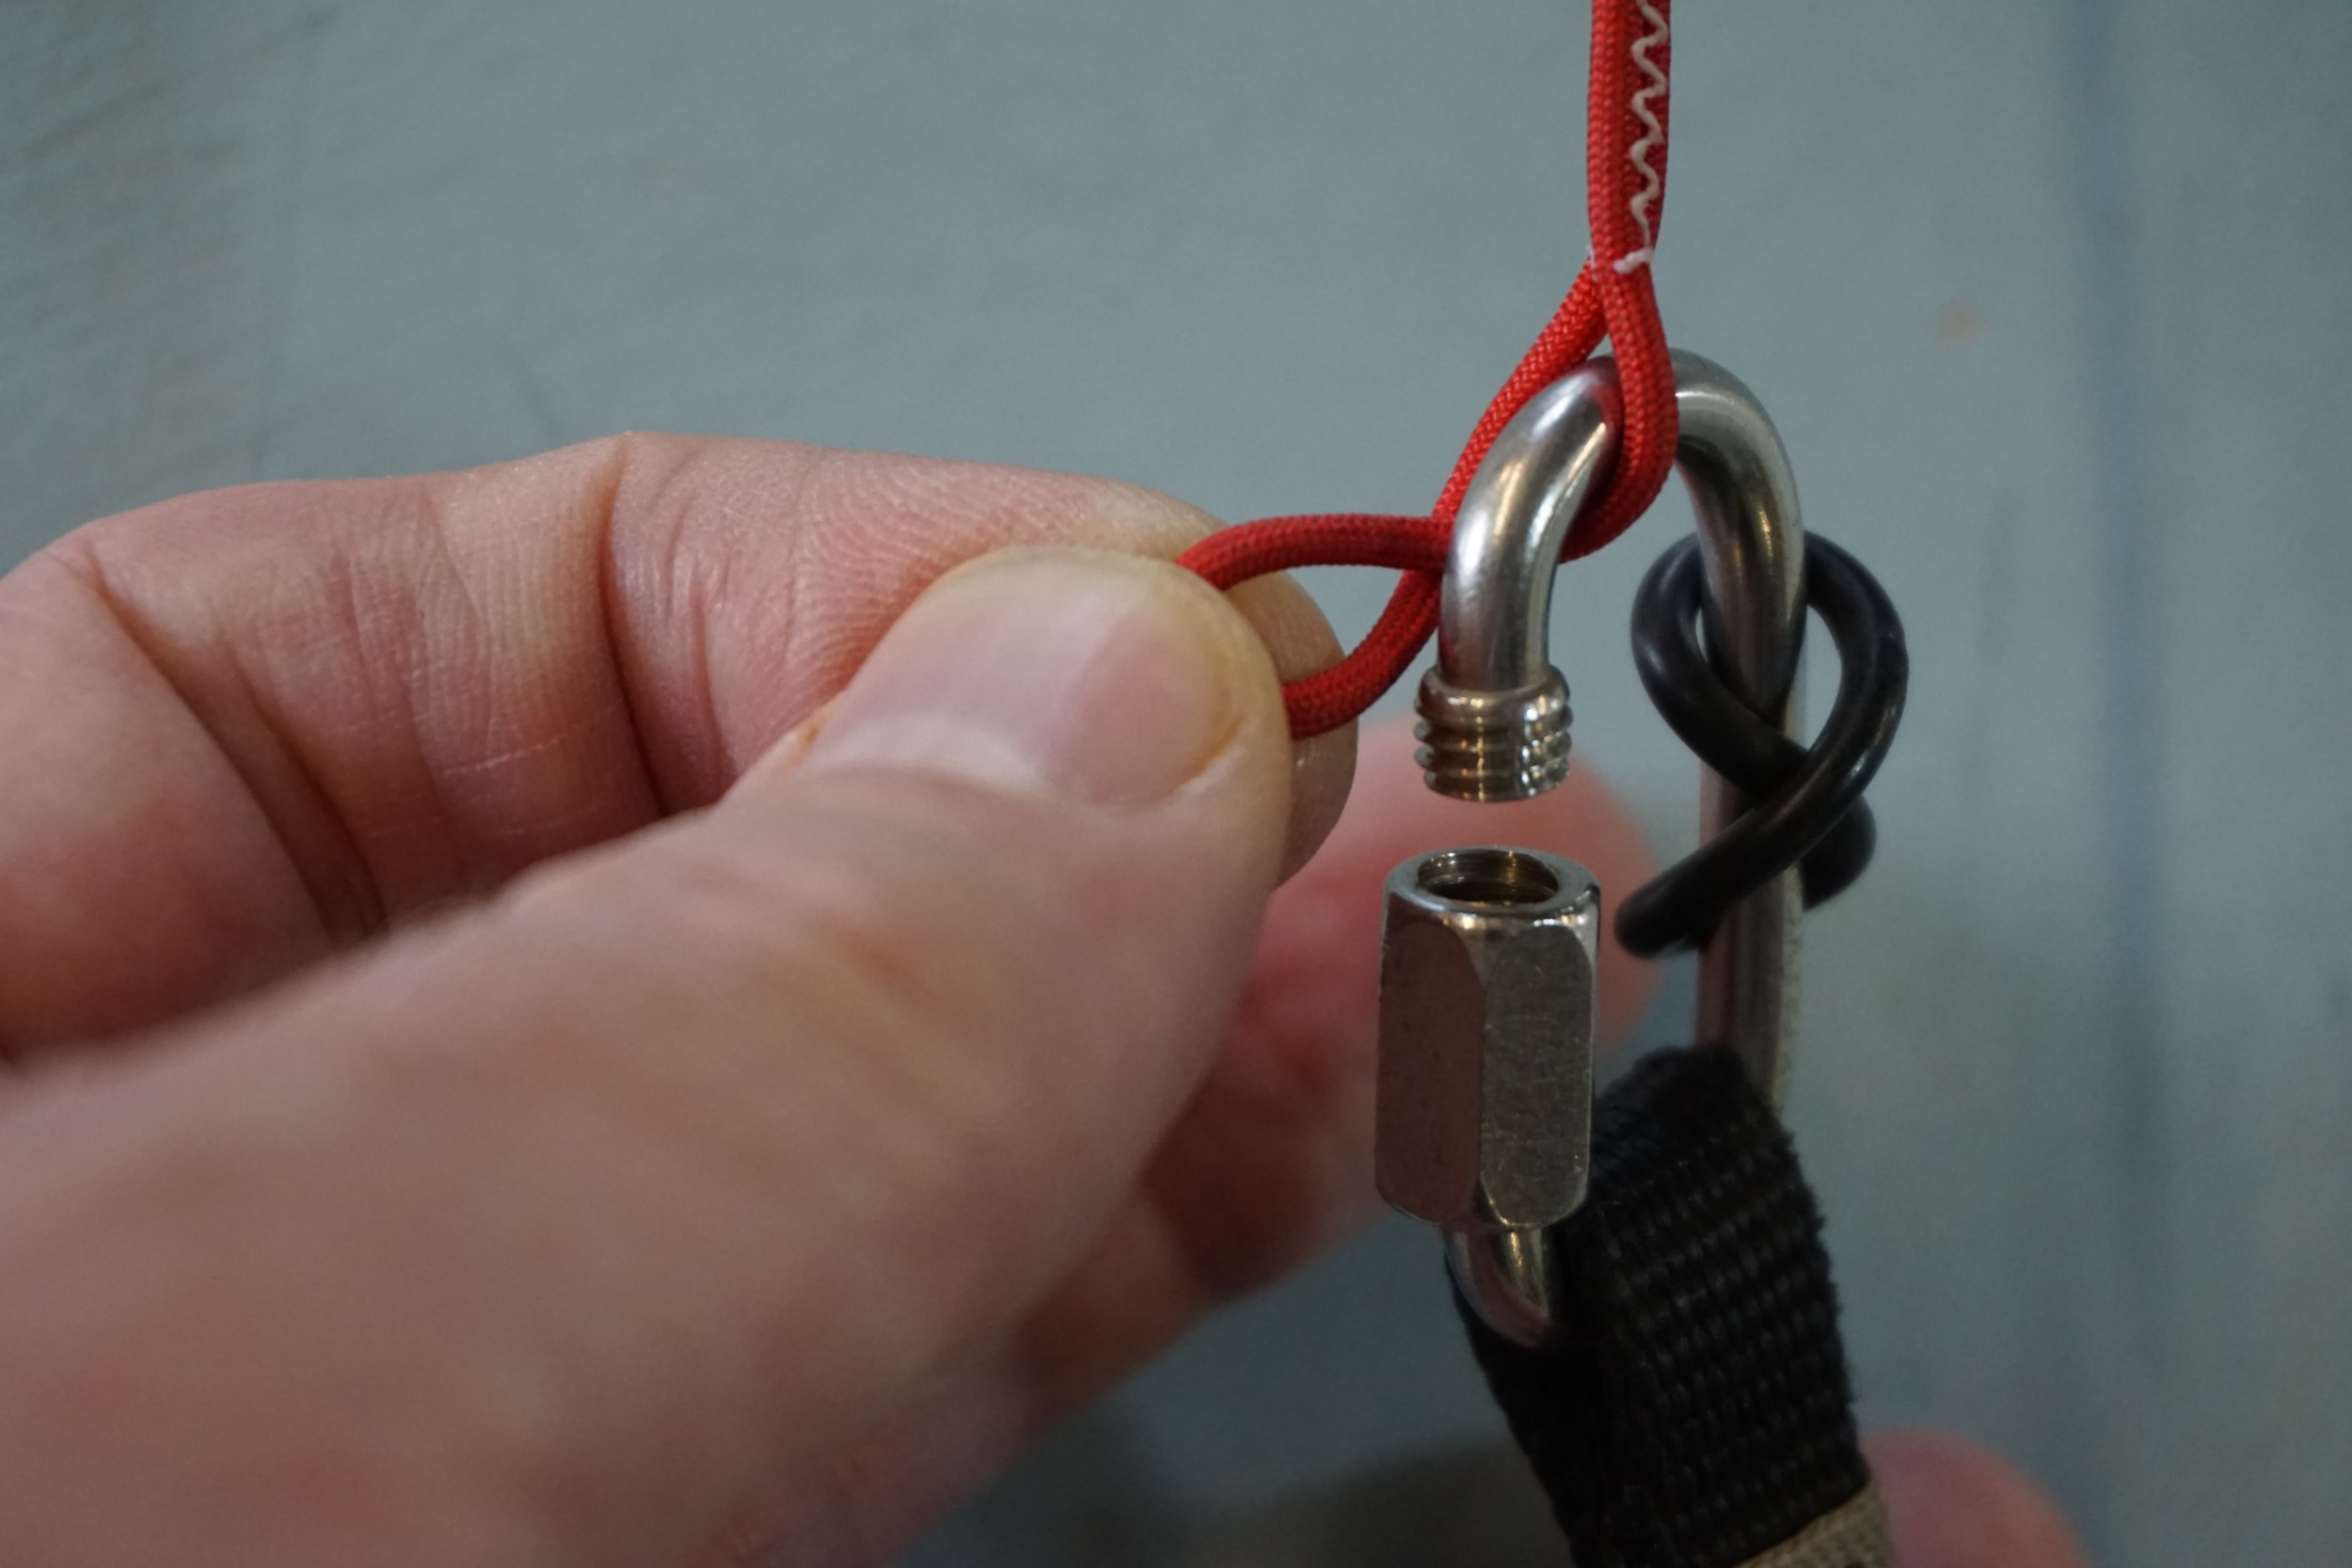
Secure the two riser loops to the attachment point with the chord.
-
Pick up line A1 on each side of the wing, one in each hand, and tension both sides. You’re aiming at 5kg on each line – think of 5 bags of sugar on each hand.
-
Hold the line tabs against each other to see if they are the same distance from the attachment point.
-
Repeat with pairs A2, A3 and so on out to the edge of the wing, and then repeat the same process with the B’s, then C’s, and so on.
-
If you think there’s a problem, make a note of what lines are affected and seek some advice.
We’re always happy to offer help and advice over the phone (01433 627195) or by email (info@aerofix.com).
This article was first published in SkyWings in August 2016