Packing away your glider may be something that you’ve not given much thought. Perhaps you just follow a familiar pattern that has altered little over the years as different wings have come and gone. Or you may have carefully studied the manual for your current wing, and thoughtfully worked out how to best fit your glider and harness into your rucksack. But does the way we pack away our wings matter? Are there some things we can do to improve the longevity of our gliders?
For many of us, probably the first glider we had to pack away was a school wing, at the end of an exhausting day, having repeatedly slogged back up the hill. The conventional method I was shown was to fold the tips in to the middle, then repeat on each side by folding the outer edge again in to the middle. That was done several times, before one half went on top of the other, everything was rolled up from the trailing edge and put into a stuff sack. Quick, simple, and very easy to explain to tired students.
But school wings often have simple structures. Many do not use plastic rods, which have been incorporate extensively in wings designed over the past 6 or 7 years. So should we take a different approach with the modern designs many of us now use?
If you look at the manual for any current Ozone model, from the Mojo 5 to the Enzo 3, you’ll see the same clear message: “to prolong the life of your wing and to keep the plastic reinforcements in the best possible condition it is very important to pack the wing carefully. Ozone recommends to use the concertina packing method.” They go on to specify in detail how to do this, “start[ing] from the mushroomed position as this reduces the dragging of the leading edge across the ground.”
However, concertina packing isn’t recommended by all manufacturers. NOVA, for example, advise “keep it simple! NOVA paragliders can be stored in a concertina bag, but it is not essential (we haven’t found that concertina bags prolong the life of the wing).” They use the conventional packing method, and emphasise that the rods in the leading edge should not be bent when folding the glider. NOVA comment that “this simple and comfortable packing method is made possible by our conservative use of rods – they are only used in the profile nose.”
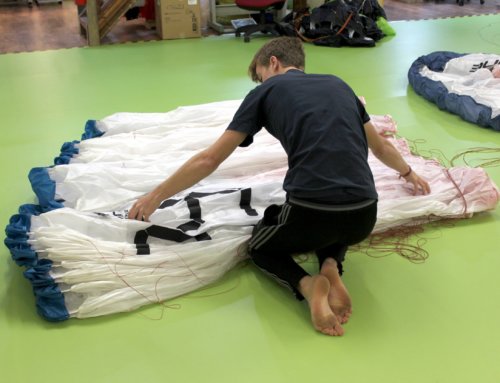
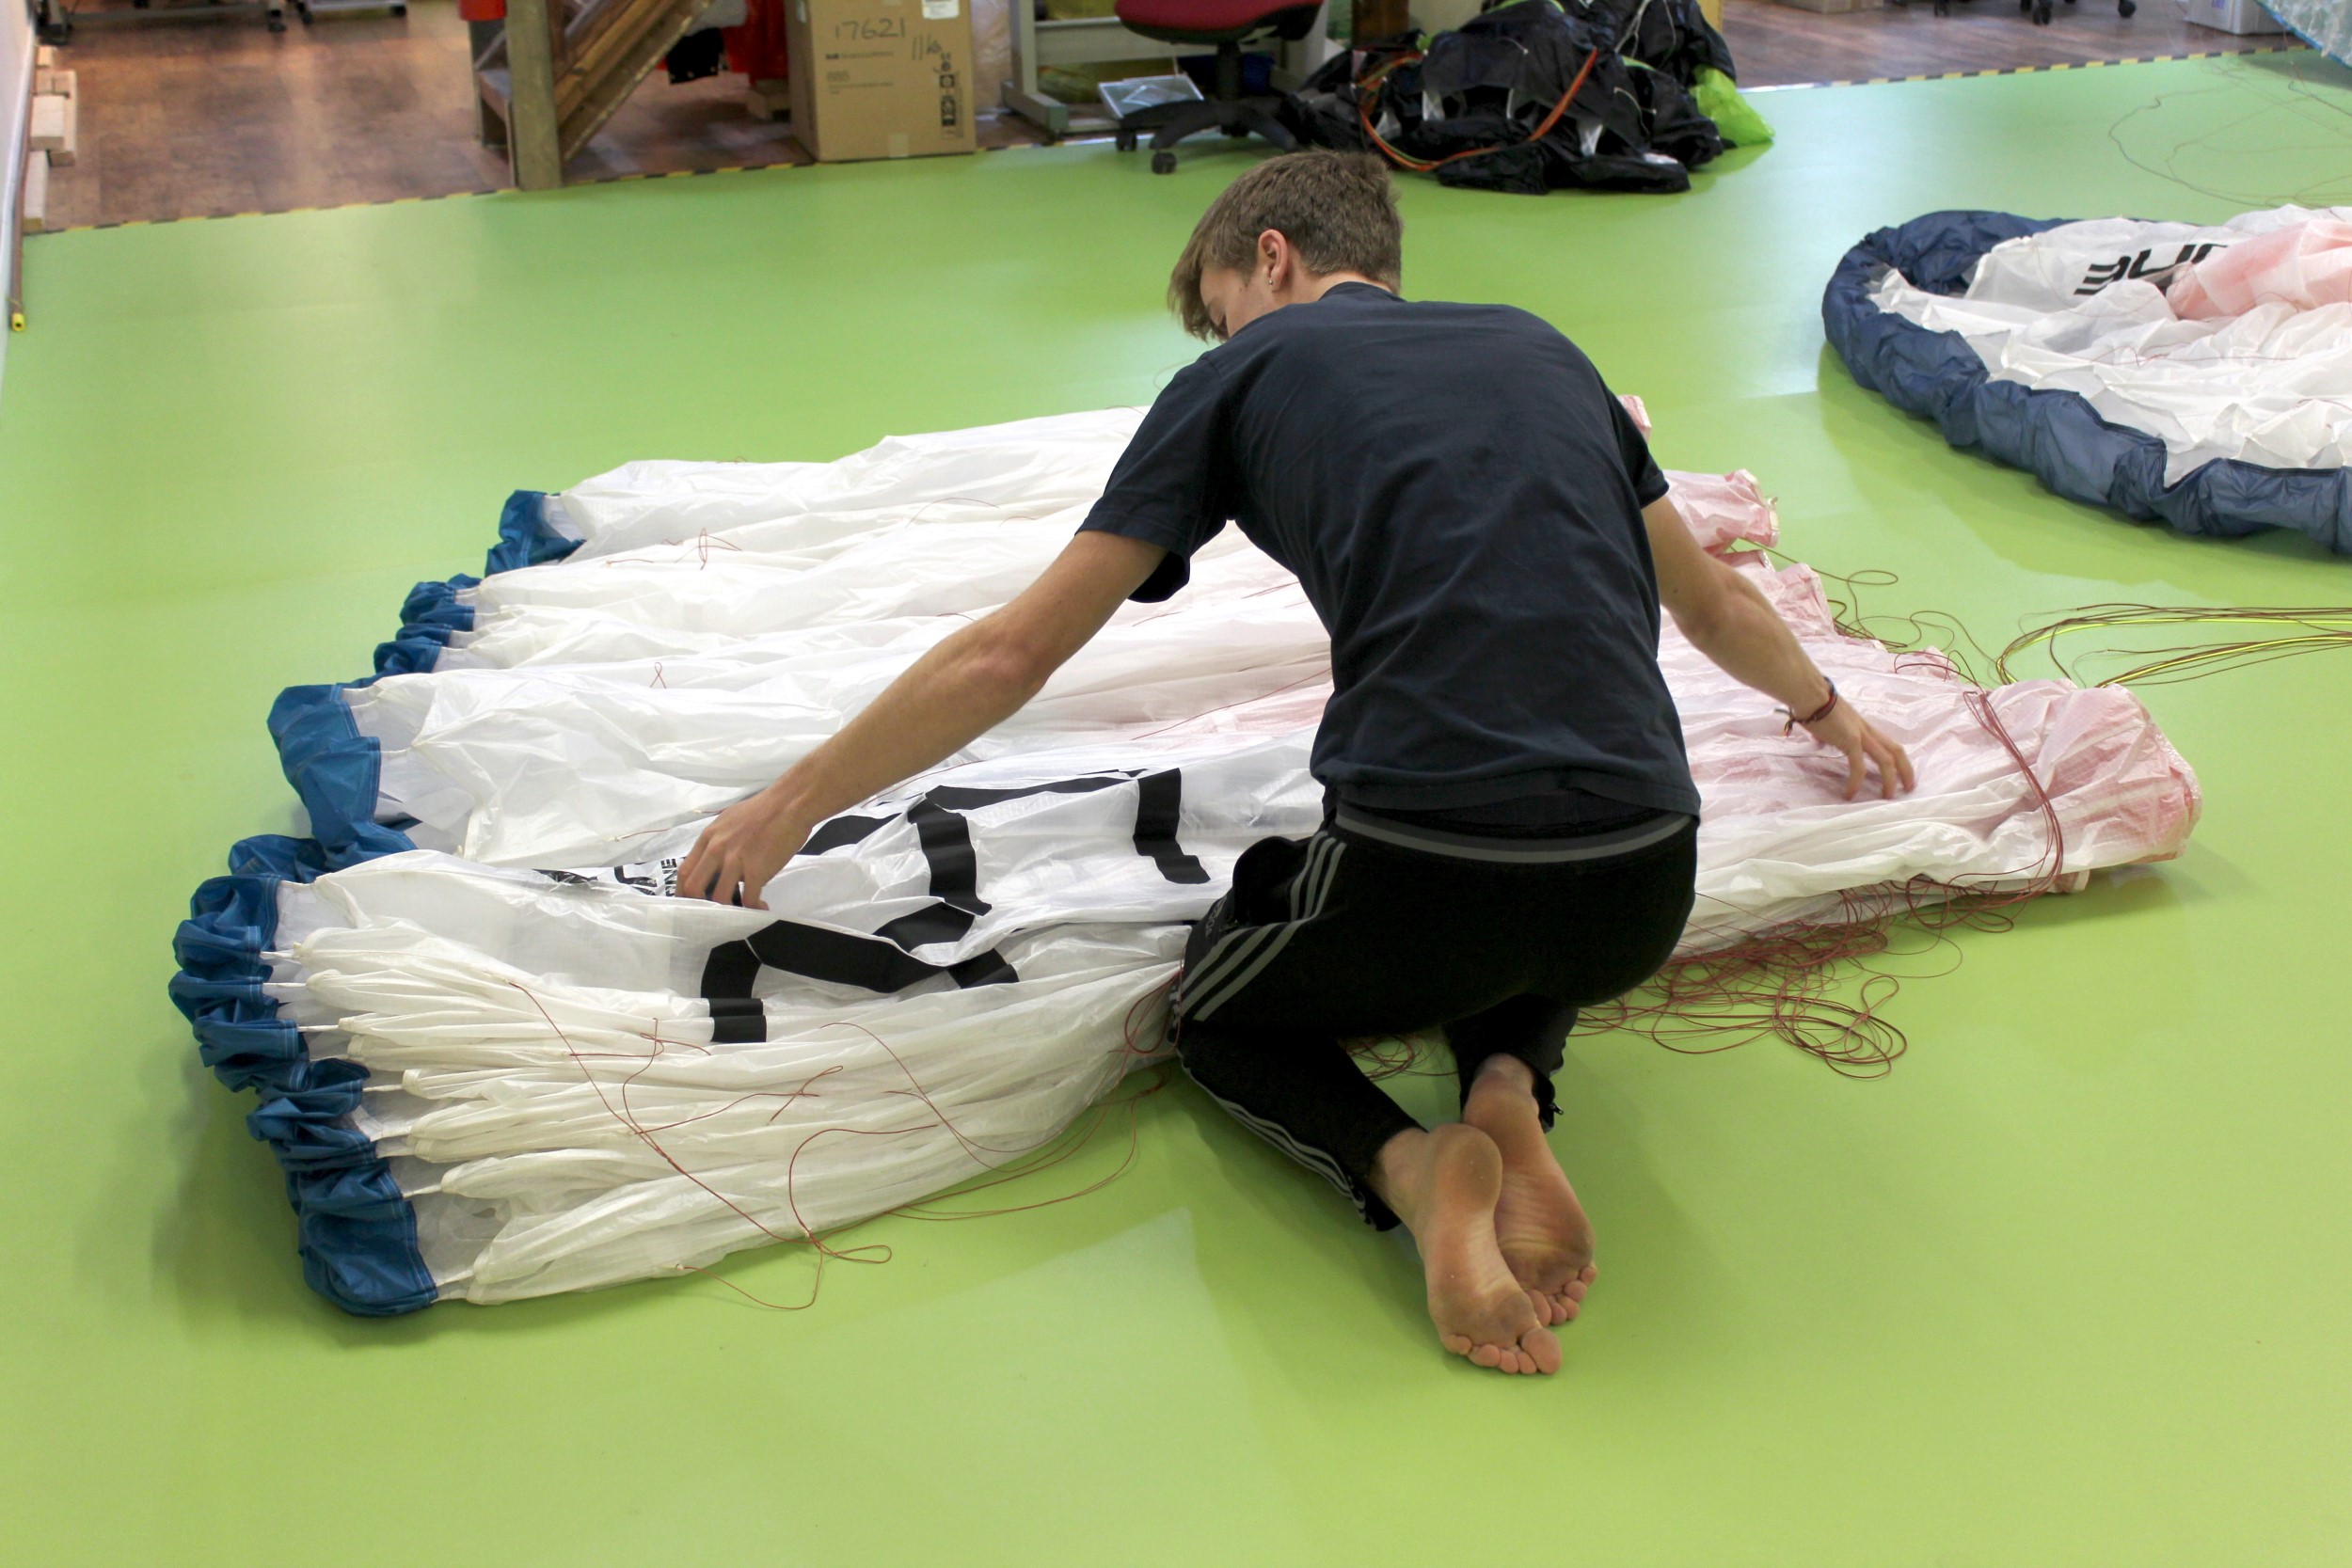
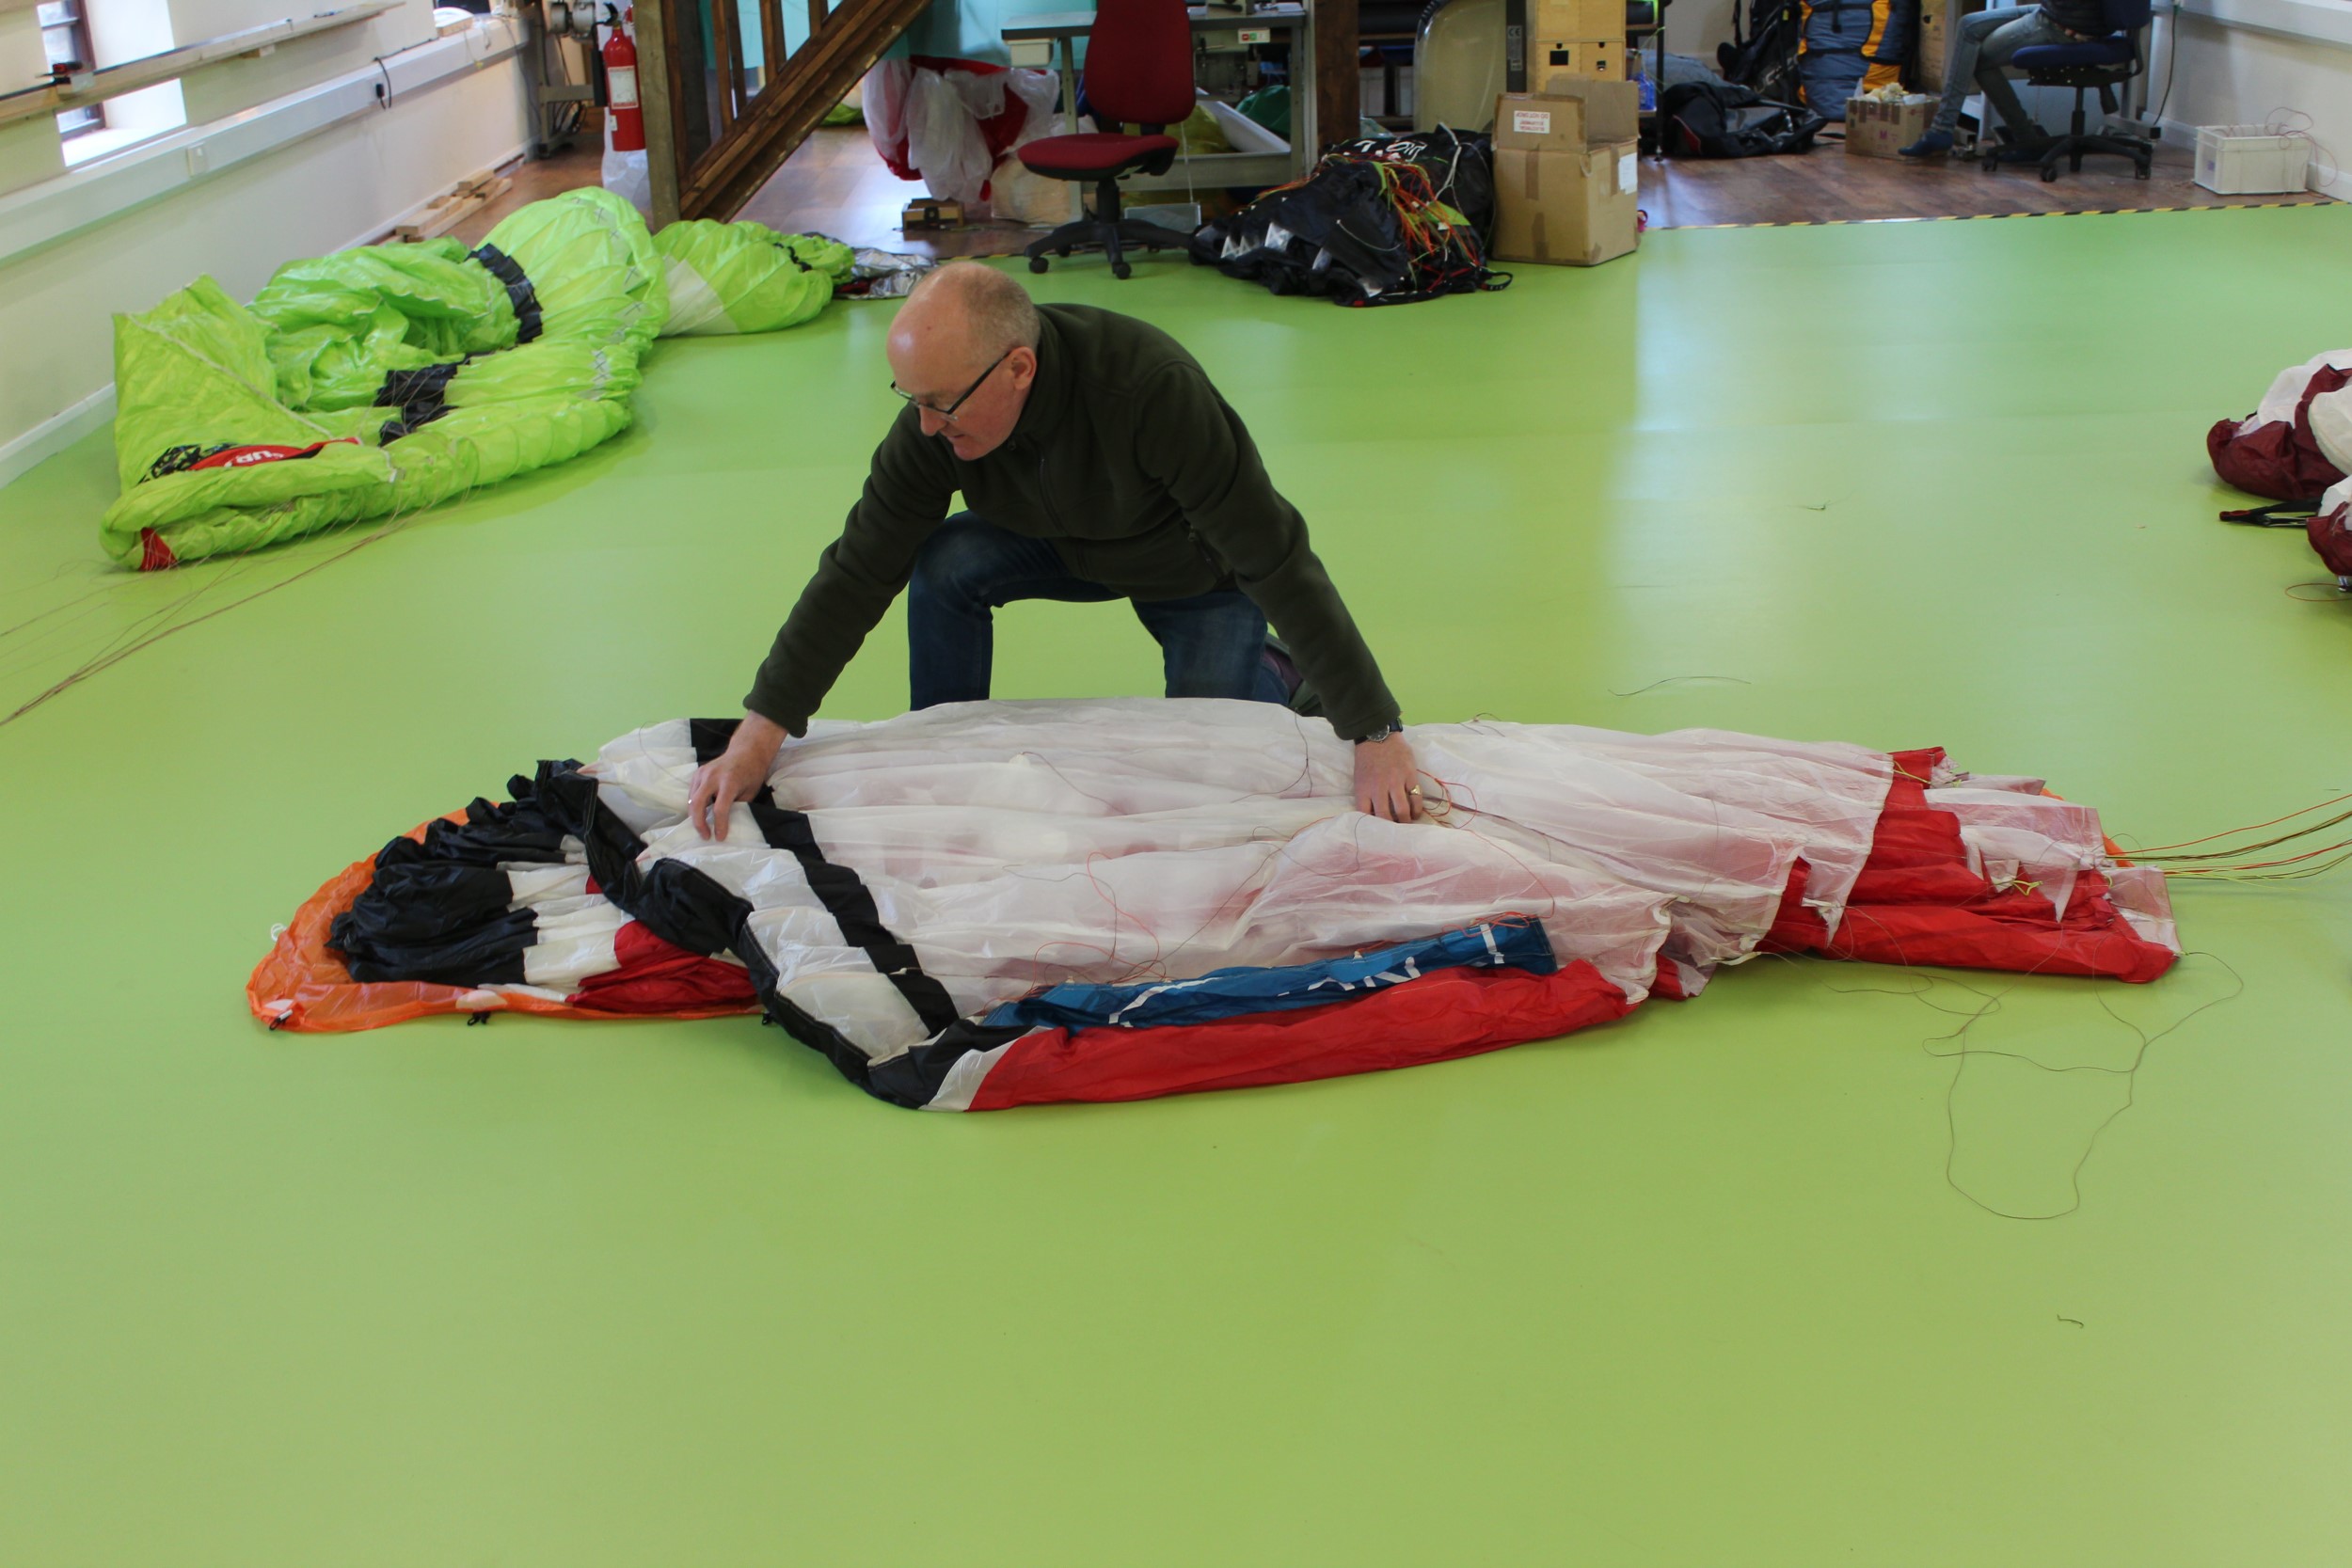
In the SIGMA 10 manual, ADVANCE advise that either method can be used, but emphasise that in both, the spanwise folding should be “cell to cell”. By this they mean that these folds should follow the line of the cell walls, as shown by Theo folding his Zeno in the picture at the top of this article. This means that the leading edges of cells do not all sit directly on top of each other because of the elliptical shape of the wing. So the leading edges of the outer cells do not align with the those at the centre. You can see this clearly in the picture below, where Theo is tidying up the trailing edge. Folding cell-to-cell ensures that the C-wires used in the SIGMA 10 also line up, as ADVANCE recommend that these should not be folded.
Theo tidying the trailing edge. Note that the leading edge cells do not all align
We do see wings in the workshop from time to time with damaged rods, but they are quite rare. It seems to happen when there’s a combination of careless packing and leaving the glider in a hot car. Bent rods distort the leading edge and top surface of a wing, so need straightening or replacement, which can be expensive. If plastic rods are used only in the leading edge of your wing, you can pack either way and avoid folding them.
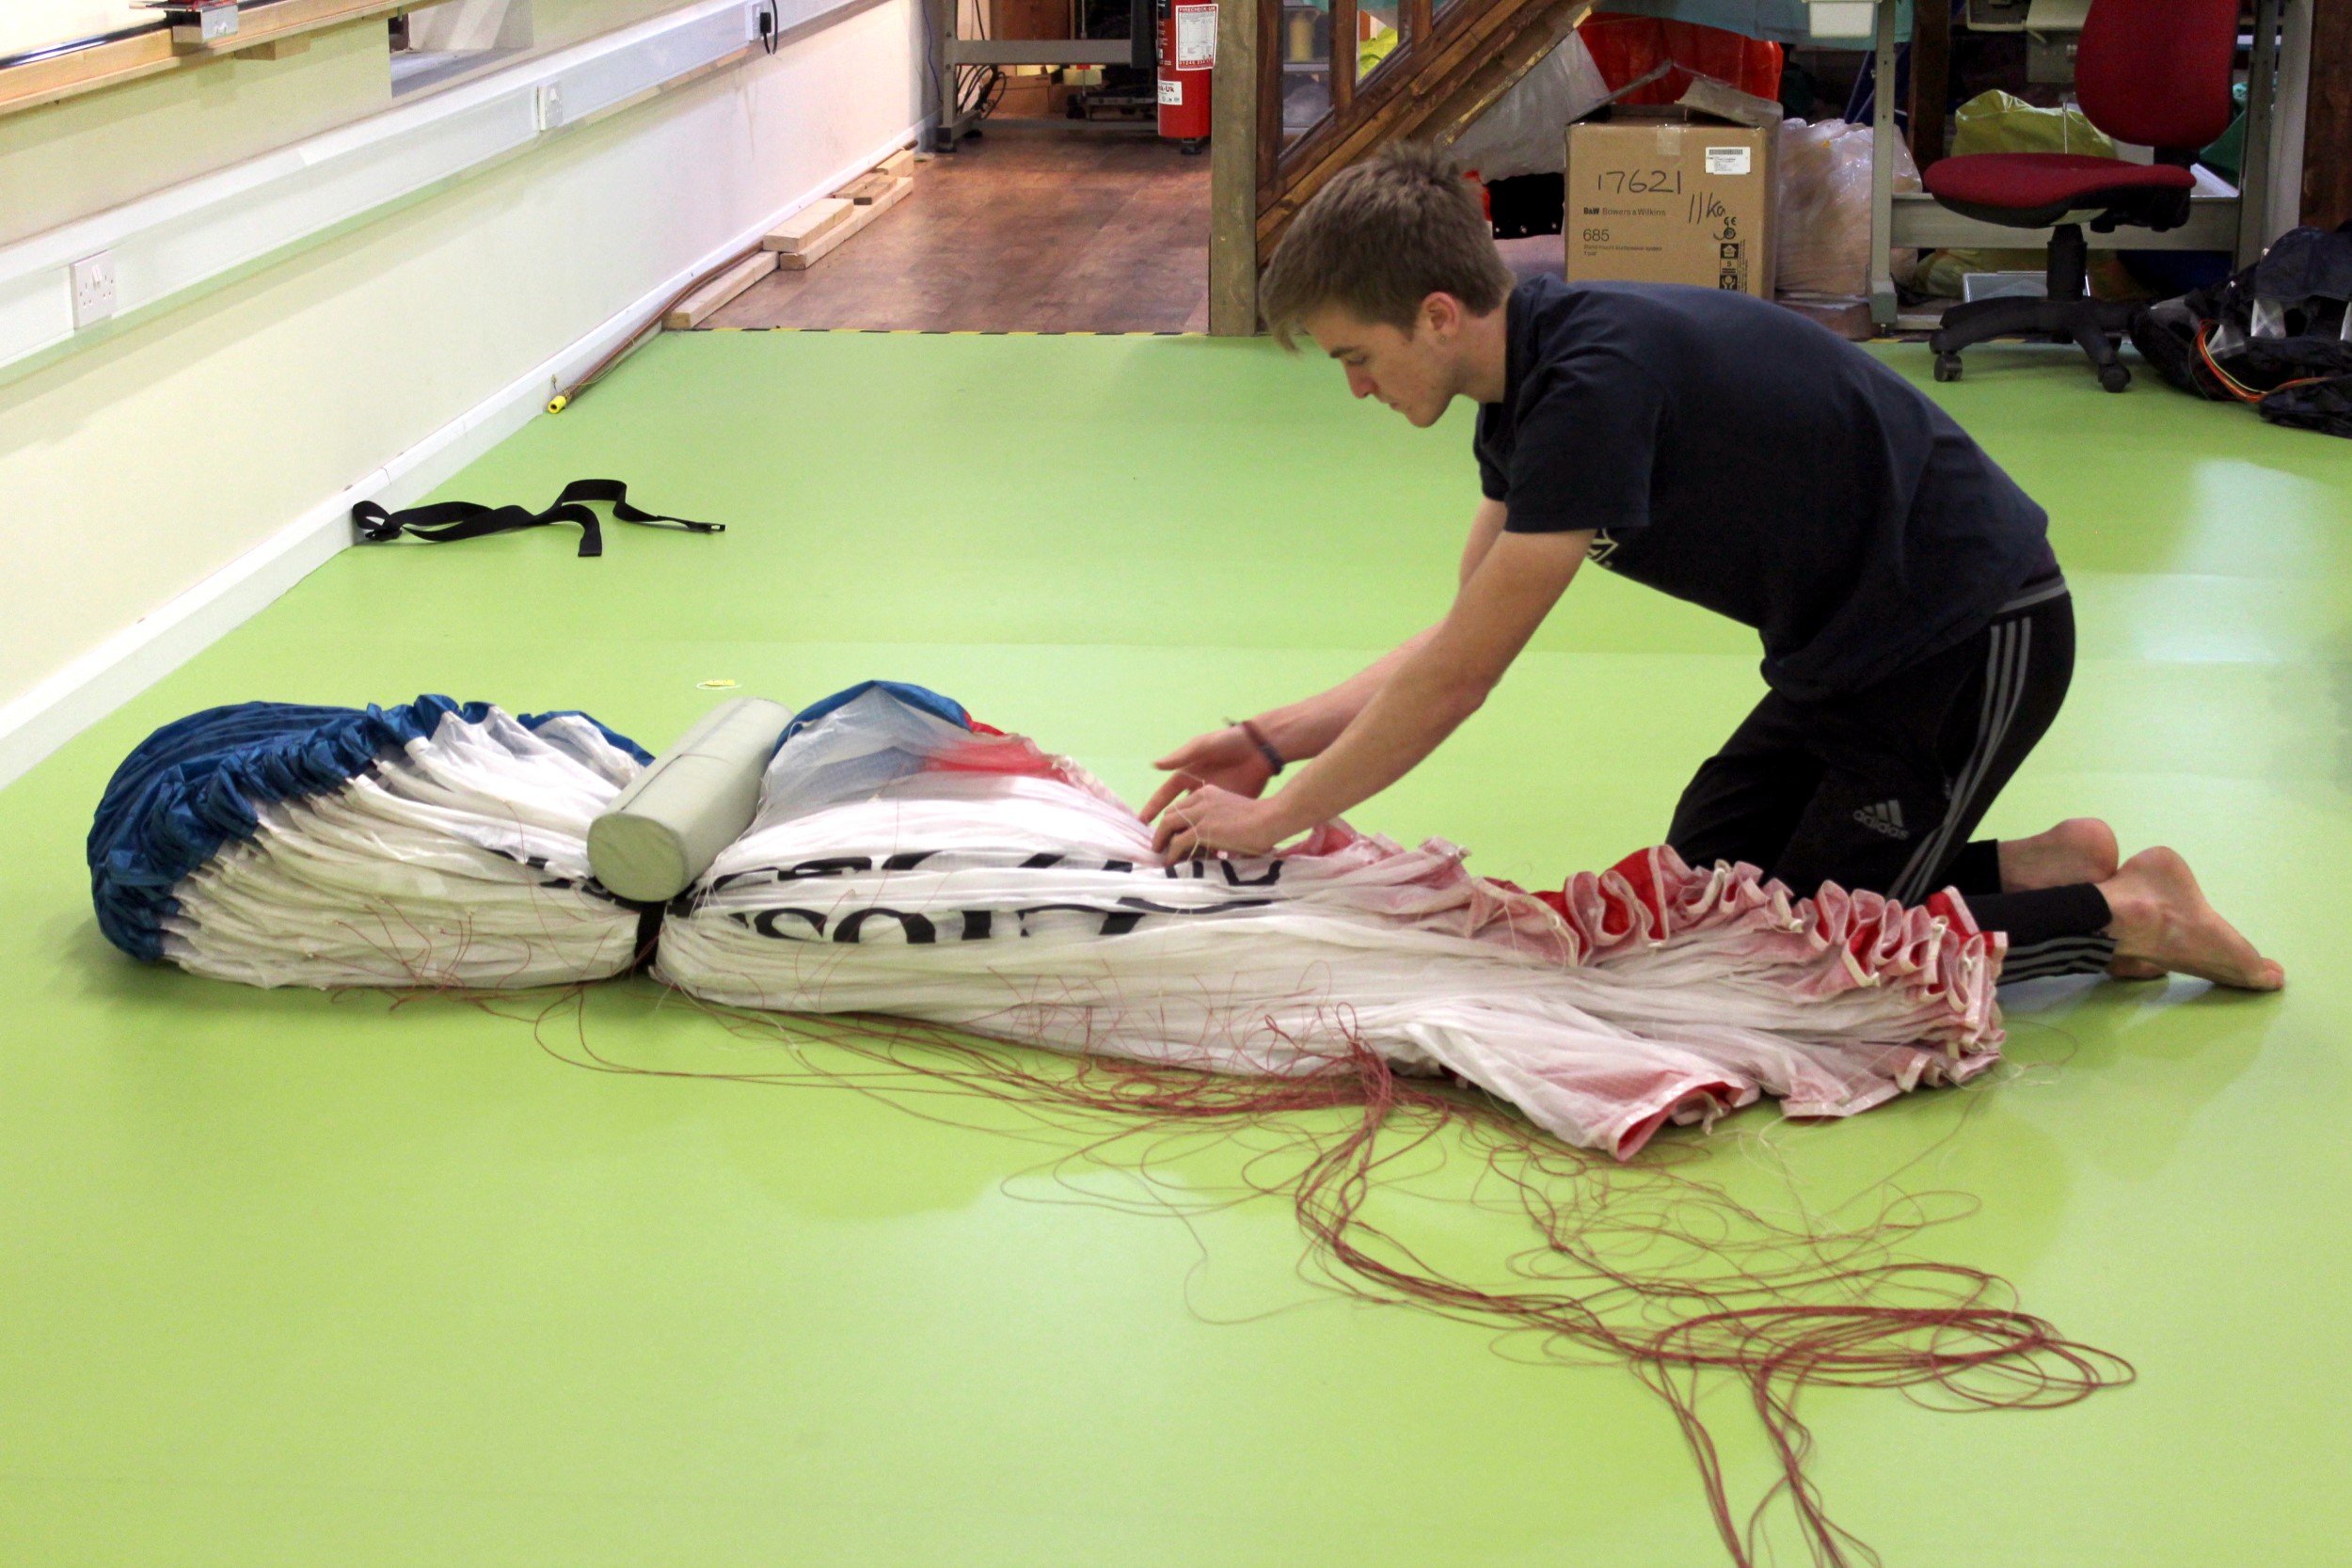
We fold cell-to-cell in Aerofix, even if the wing only has rods in the leading edge, because it avoids the bunching of fabric in the middle of the wing that happens if you pull the leading edge of the tips forward to sit on top of the centre cells. Putting stress on the fabric when packing is to be avoided as much as possible. We have seen gliders with poor porosity in just in the central cells of wings where the pilot packs very tightly with the conventional method, which puts the central cells under more stress.
Avoiding the fabric bunching up in the centre
Use either three or four folds to put the wing into your rucksack, the fewer the better. I need 4 to get my Mentor 4 into my Verso harness. You can see that I fold the leading edge around the trailing edge to maximise the radius of this fold. There are no rods at the back of the wing, and any adverse impact on the fabric porosity from a tighter fold matters much less towards the trailing edge.
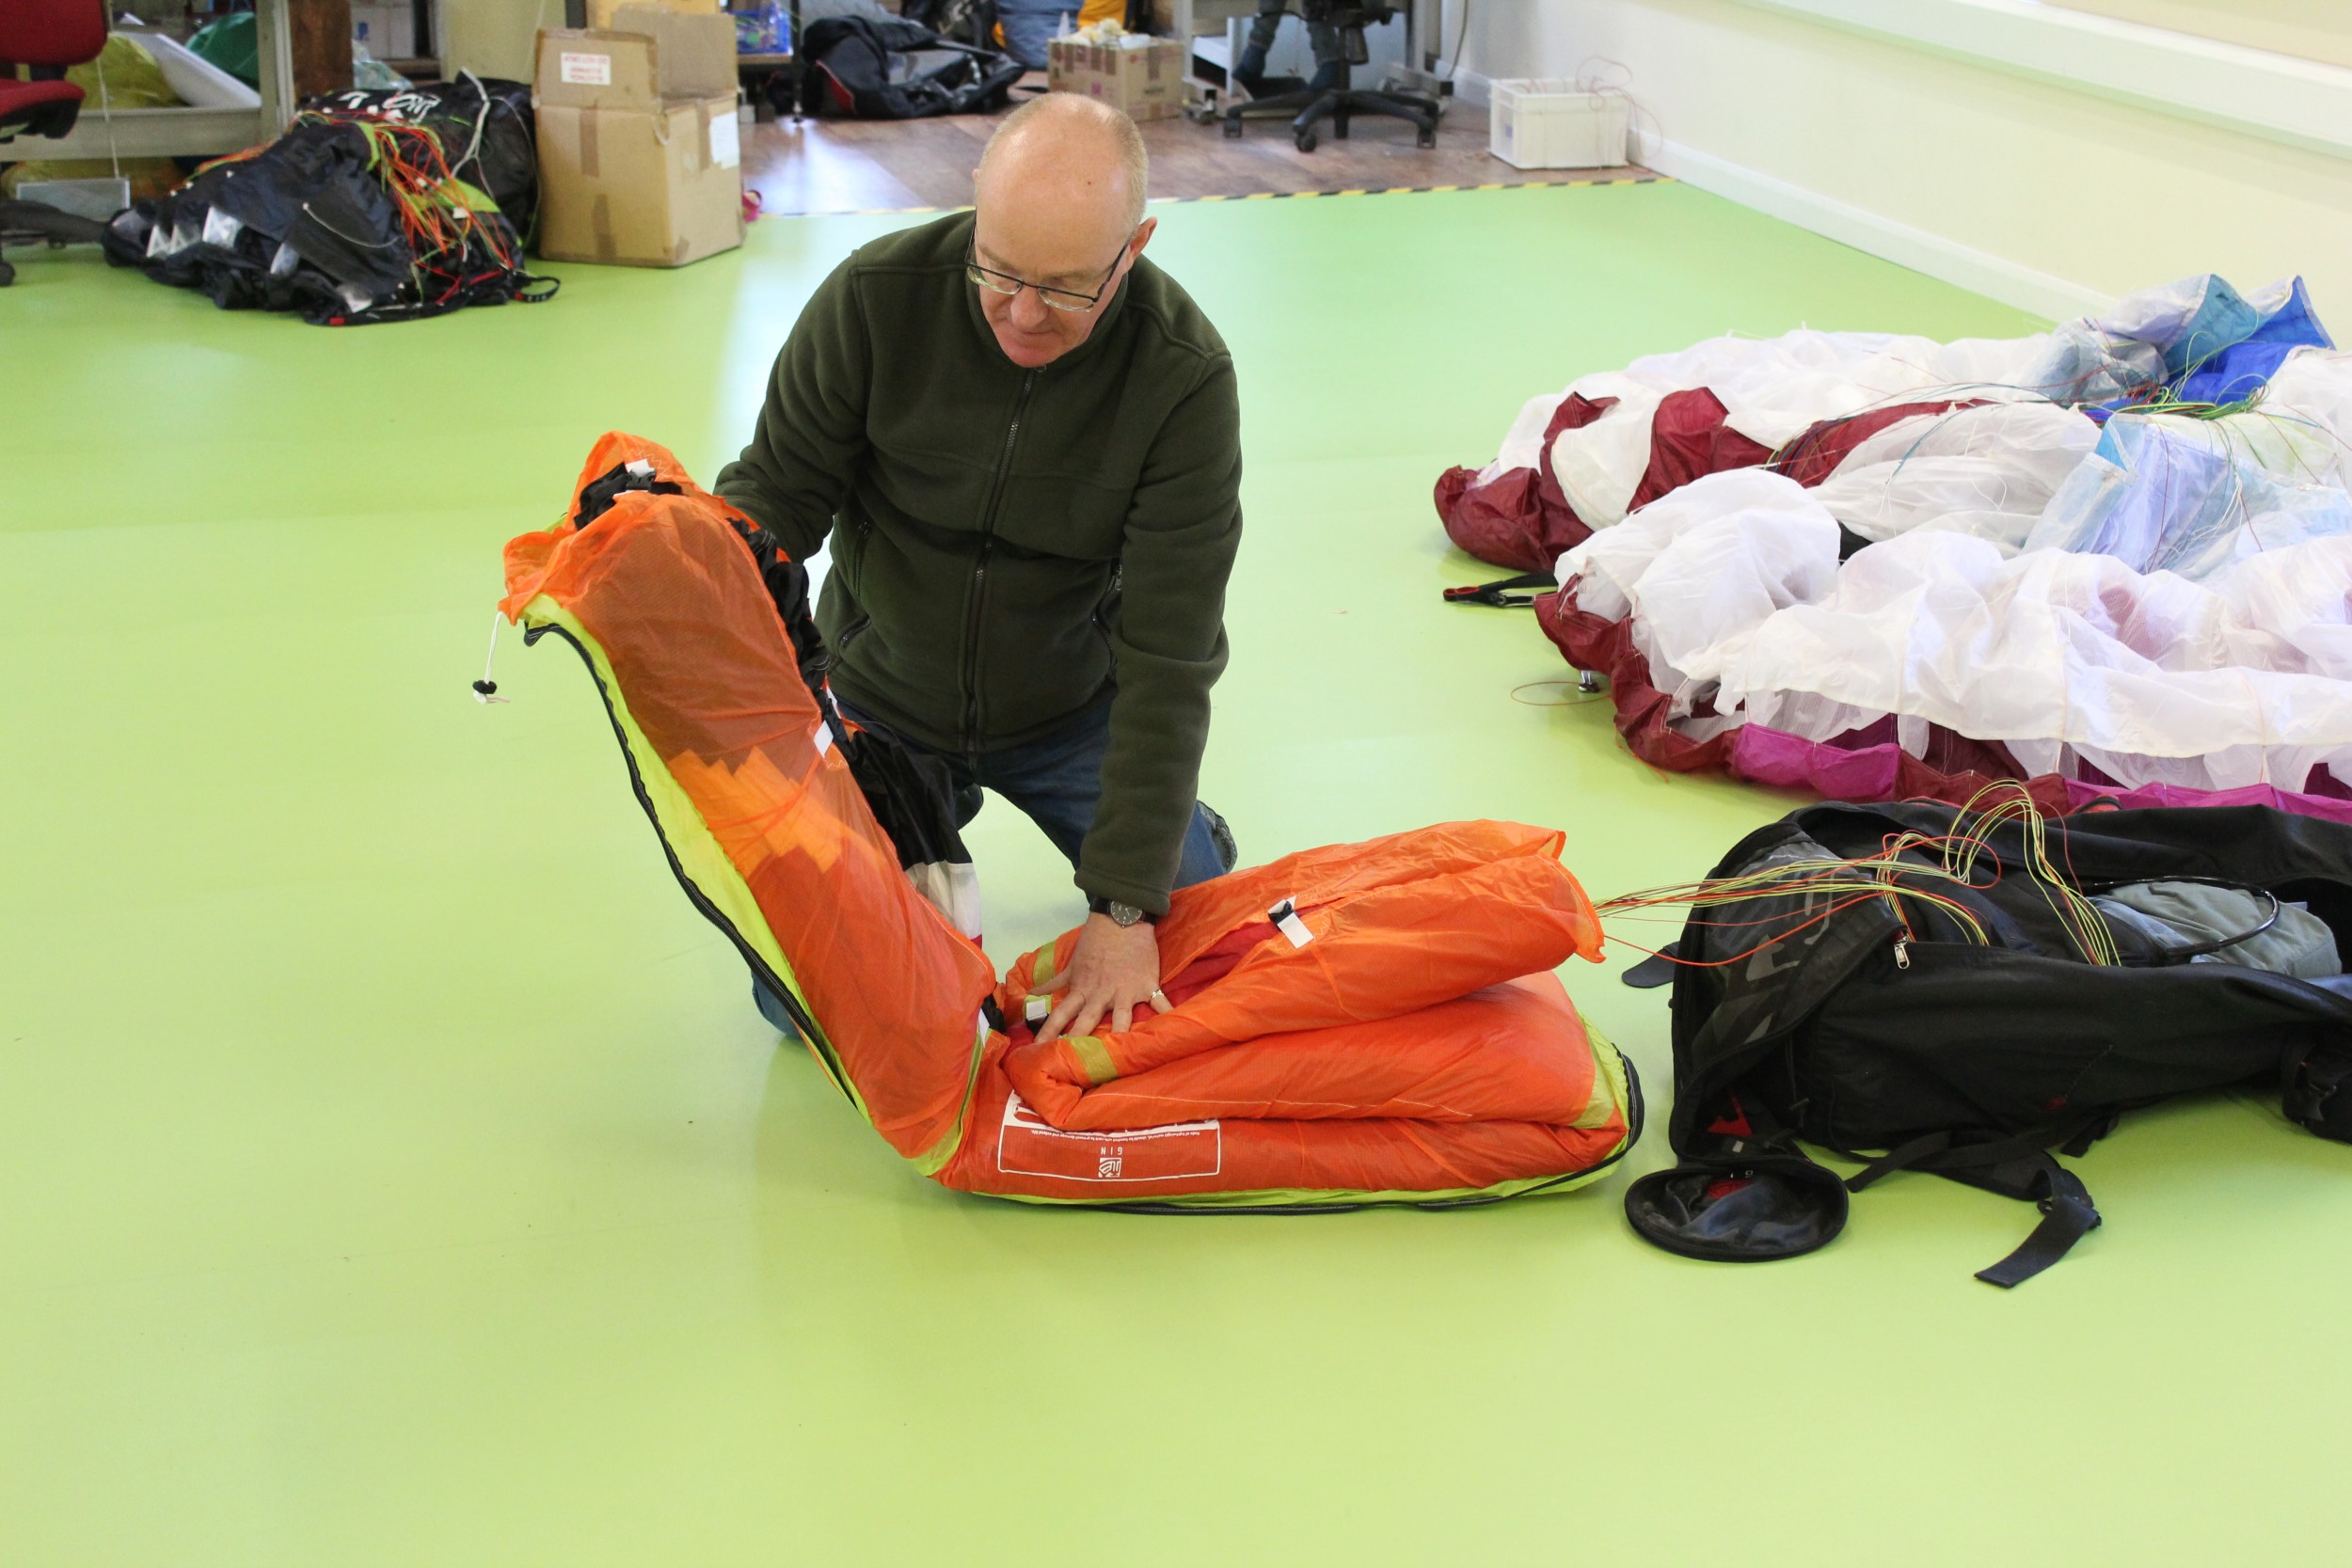
Keep the radius of the fold towards the leading edge as large as possible
There are a few other points worth considering when thinking about how you pack away your wing:
-
Avoid packing away with sand, gravel or other abrasive material in or around your glider, as these will accelerate deterioration of the fabric.
-
Make sure your wing is thoroughly dry and well aired. Damp, particularly if combined with heat, can damage both your lines (they may well shrink) as well as the canopy.
-
Keep the fabric as loose as you can. If any compression is needed to get the wing into your rucksack, make sure it is the bag that takes that tension, not the fabric of the wing.
-
If you have to rush packing up after flying, compromising any of the above, then unpack again as soon as you can, to put things right.
If you want to chat anything through, we’re always happy to offer help and advice over the phone (01433 627195) or by email (info@aerofix.com).
This article was first published in SkyWings in January 2018