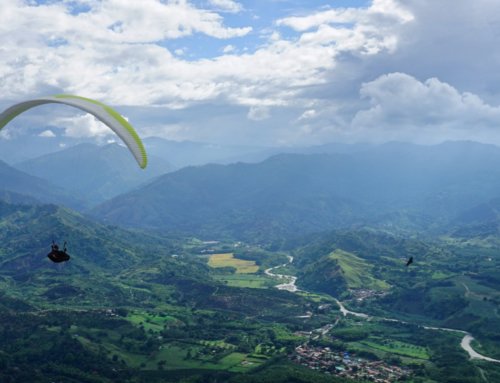
In the workshop, we see all sorts of damage that wings suffer, ranging from the very minor through to extensive damage. So far, we’ve been able to find an economic option for everything that’s come in, despite some pilots’ concerns that their wing might be a write-off. But what are the typical causes of damage and what’s involved in a repair?
First up – ground handling. In the past few weeks we’ve seen two gliders needing repair work of more than £300 each, both as a result of ground handling on the concrete take-off at Oludeniz. Blustery, thermic conditions probably make things worse, particularly when it can be a challenge to keep the wing down until ready to take off, but the abrasion can result in significant wear.
The first was a Zeno with over 30 small and larger tears next to the plastic rods, halfway back on the wing, where lightweight 27g/m2 fabric is used. Ozone highlight that such “lightweight and high performance materials require care and caution on the ground.” The second was a Hook 3, again with many small abrasion tears, this time very close to the leading edge, despite being made of much heavier 40g cloth.
As well as abrasion damage caused by contact with the ground, the other hazards regularly identified to us are barbed wires and hidden obstacles such as rocks. These are unlikely to prove problematic when winds are lighter and predictable, but feature prominently when conditions have caught the pilot out.
The next causes of damage I wanted to highlight are trees and bushes on landing. Line tabs can be ripped out, fabric can be punctured or ripped, and seams can be torn open. From the repairs we’ve made, it’s clear that there is also significant potential for damage to be caused while freeing the glider. So taking time to carefully recover the wing may substantially reduce the repair bill. Taking time to be recovered yourself, if you’re suspended in a tree, may also be a lifesaver: a UK pilot died last December, not from his tree landing, but from falling while trying to climb down.
The third group of causes to comment on are paramotor related. Motors regularly chew up lines and sometimes they get hold of the canopy too. In these cases the results can look devastating, but we’ve successfully replaced entire sections of a wing. Propellors breaking and puncturing the wing are, fortunately, fairly rare. One to watch out for is fuel damage to the fabric: we’ve identified this during a service, where the fabric strength has been reduced to little more than tissue paper, without the pilot’s knowledge.
Small tears can be repaired very cheaply with sticky tape, and often if the tear is close to a seam, the seam can be unpicked, the fabric taped and then re-stitched. Larger tears may require that the tape’s adhesion is reinforced by stitching around the edge of the tape. Whilst these types of repairs are inexpensive, they may be conspicuous and detract from a wing’s appearance. That might indicate another option is appropriate, particularly for a newer or particularly clean wing.
Replacing the fabric of the entire panel will achieve an invisible repair if a good fabric match can be made. Manufacturers regularly change colours and although repair workshops keep extensive stocks, in rare cases an exact match may not be available for a glider that is several years old. And because replacing a large panel can be expensive, it’s often more appropriate to replace only the damaged section of the panel. Taking this approach adds an additional seam, but is usually much more cost effective.
What to look out for when making a repair yourself
- Small tears well away from a seam can be simply patched with sticky repair tape. But what are the potential complications?
Size – as a rule of thumb, if you can put your thumb through the hole, it’s not a small hole. You may still be able to tape it, but tape both sides, and leave at least 25mm around the tear for good adhesion and to spread the tension in flight. - Seam – another rule of thumb: if it’s closer to the seam than the width of your thumb, then it’s close to the seam. Make sure you put tape across the seam, and regularly check before every flight to ensure that the movement of fabric at the seam is not causing the patch to detach.
- Stickyness – the coating on some fabrics makes them more difficult for repair tape to adhere to, so try taping on the other side of the fabric. If neither side works well, an ugly-looking gaffer or duct tape repair could represent a better option if you really must have one. Bear in mind other tapes use adhesive that may damage the fabric over time and necessitate replacement of the panel when a permanent repair is made.

